3 November 2020
360 product photography: the complete guide
A complete guide to 360 degree product photography. Get info and tips on 360 spin product photography, 360 product photography equipment, and software.

What tethering software actually does, how wired and wireless compare in 2026, the five categories of tools on the market, and how to choose one for a high-volume product photography studio.
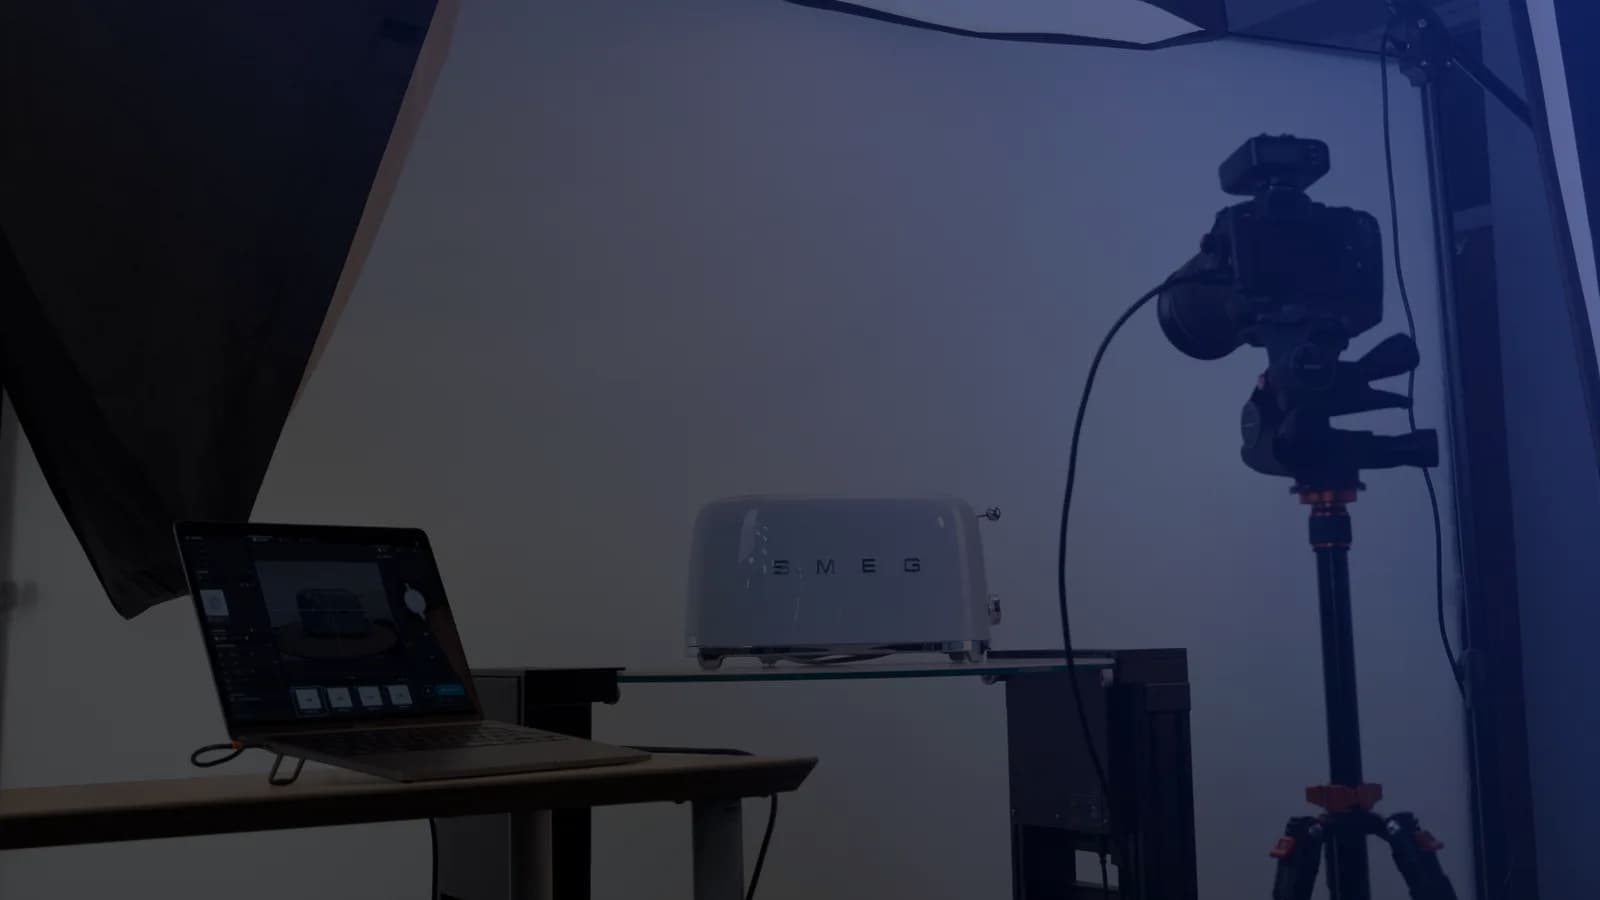
Table of contents
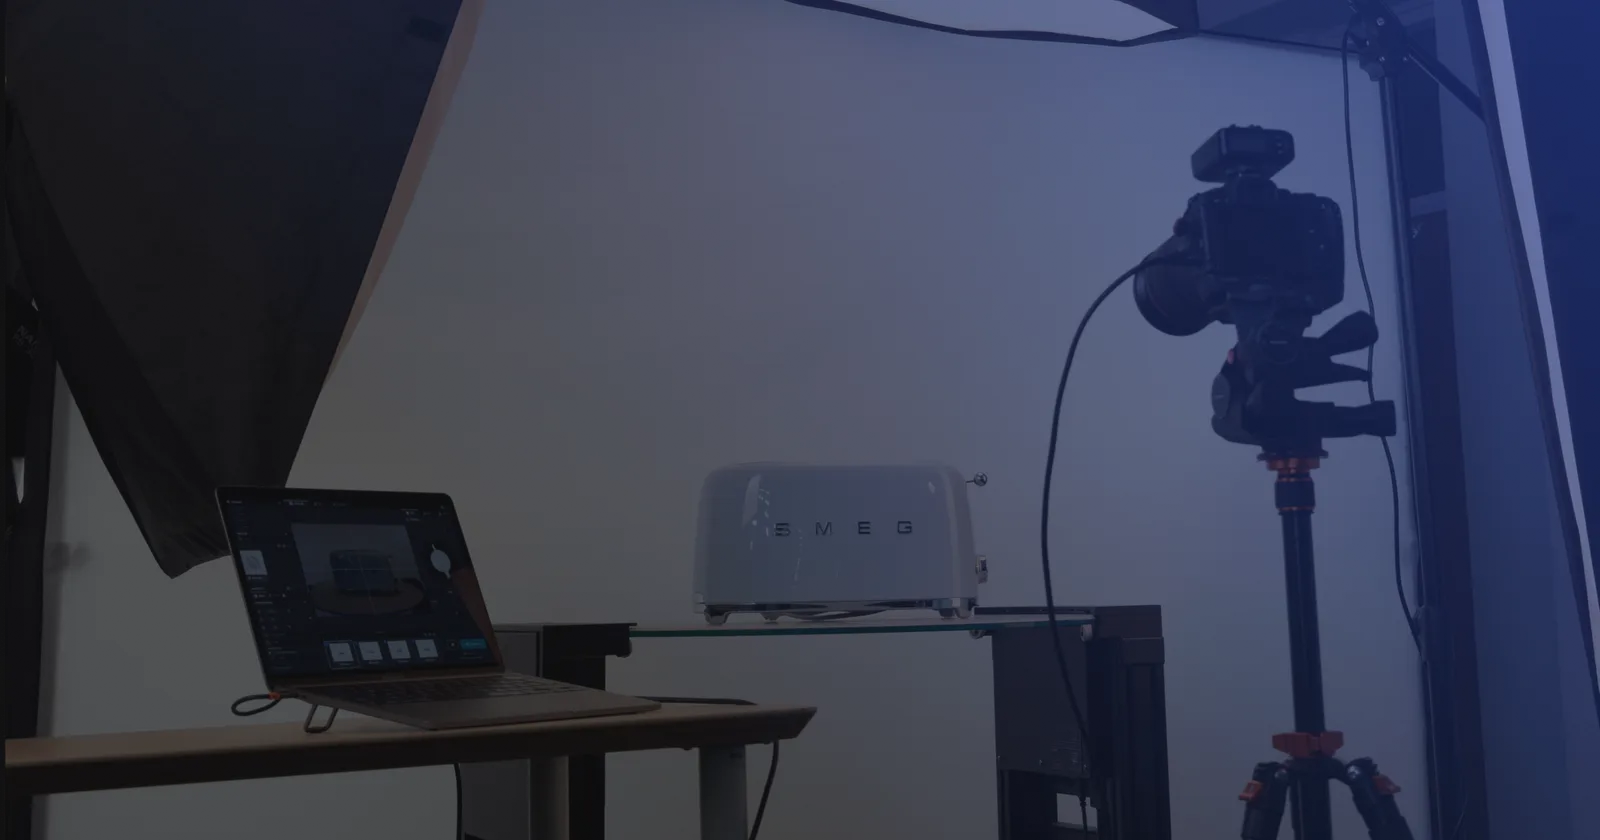
Tethering software connects your camera to a laptop, tablet, or phone so you can preview shots in real time, control the camera remotely, and get files off the card the moment they're captured. For a high-volume product photography team, that's the difference between shooting a batch and hoping it's usable, and checking every frame as it lands. No more shoot-to-card-then-review. Every image gets checked, named, and sent toward retouching the moment it's shot.
This guide walks through what tethering software actually does, how wired and wireless setups compare in 2026, which tools are worth trialing for an e-commerce studio this year, and the point where tethering alone stops scaling.
Think of tethering software as the layer between your camera and your screen. On the camera side, it speaks the camera's own language - PTP (Picture Transfer Protocol), a manufacturer API like Canon CCAPI, or an IP-based Wi-Fi connection. On the screen side, it shows you live view, hands you the camera's controls, and catches each file the instant it's captured.
What it replaces: shooting to a memory card, ejecting the card, importing to a workstation, and only then finding out what's actually in the frame. That loop is slow, and it's where mistakes hide until it's too late to fix them cheaply.
Photographers use tethering for lifestyle shots, portraits, focus stacking, on-model images, and product photography - packshots included. There's generic tethering software built for any of those, and there's product-oriented tethering software built specifically for the last one (Orbitvu Station is in that second category).
What a tethered setup gets you:
For a working product photography team, that turns quality control from something you do after the shoot into something you do on every single shot.
Two connection methods. Two very different trade-offs.
Wired tethering uses a USB cable - most commonly USB-C or USB 3.0 - between the camera and a laptop or workstation. It's the fastest option, the most consistent, and it supports everything: live view, RAW transfer, remote shooting, video capture. The catch is physical: cables restrict movement, and length matters. A standard passive USB-C or USB 3.0 cable holds up reliably to about 3 meters, per the USB 3.0 specification. Push past that, and you need an active or repeater cable, commonly rated up to around 4.5 meters or more, to keep the signal clean.
Wireless tethering uses built-in Wi-Fi, an external transmitter, or an IP-based protocol like Canon's CCAPI. No cable, which means more freedom - a real advantage in multi-camera setups or out on location.
| Criterion | Wired | Wireless |
|---|---|---|
| Speed | Fastest, near-real-time | Slower historically; closing the gap on newer solutions |
| Reliability | High and consistent | Depends on network quality and interference |
| Mobility | Restricted by cable length | Full range within Wi-Fi coverage |
| Best use | High-volume studio, packshot lines, automated capture | Location shoots, multi-camera rigs, client-facing sessions |
Most high-volume operations standardize on wired for the studio floor, then add wireless where mobility actually matters - client review on set, mannequin sessions, location shoots.
For a portrait or wedding photographer, tethering is a quality check they run a few times a shoot. For a commercial product photography team shooting hundreds of SKUs a day, it's part of the production line - not a nice-to-have, but a load-bearing piece of the process.
Here's what matters most once you're running a high-volume e-commerce studio:
None of this matters much if you're a single shooter doing portraits. It all adds up fast once your SKU volume grows.
Once a studio is shooting hundreds of SKUs a day across multiple angles, generic tethering tools built for portrait or landscape work start showing gaps. Here's what actually matters at that volume.
Not just camera control - the whole loop from setup to publication:
Images grouped by SKU, angle, or campaign - not by shoot date or which memory card they came off.
Apply an adjustment, a crop, or a retouch to hundreds of images at once. Not one file, one click, one at a time.
Barcode or QR scanning pulls product data straight into the file's metadata. SKU, product name, category - embedded before the shot leaves the studio.
Video clips, 360° spins, and still images, captured in the same session, in the same tool, tagged with the same metadata structure. Not three exports from three different systems.
Studios rarely stick with one camera body forever. The tethering layer needs to keep up with Canon, Nikon, Sony, Fujifilm, Panasonic, and whatever the studio picks up next.
| Software | Category | Cost | Cameras supported | Standout features | Best for |
|---|---|---|---|---|---|
| Canon EOS Utility | OEM | Free | Canon | Live view, remote control, USB | Canon-only, basic setups |
| Nikon NX Tether | OEM | Free | Nikon | Live view, video, wireless with newer bodies | Nikon-only, basic setups |
| Sony Imaging Edge Desktop | OEM | Free | Sony | Live view, remote control | Sony-only, basic setups |
| Orbitvu Station | Automation tier | Varies per country | Canon, Sony (selected models) | Tethered capture + turntable and lighting control + AI Masking + publishing | High-volume product photography operations |
| Capture One Pro | Third-party pro | Paid subscription, tiered by plan - check current pricing at captureone.com | 650+ RAW / 200+ tethered | Deep RAW processing, ReTether, 2nd-Gen Canon wireless | Professional multi-brand studios |
| Adobe Lightroom Classic | Third-party pro | ~$20/mo Photography plan (1TB) | Canon and Nikon primarily | Catalog + editing integration | Studios centered on the Adobe pipeline |
| Smart Shooter | One-time / tiered | $99 base, plus additional per-camera licensing (up to 10 cameras) | Canon, Nikon, Sony, Fujifilm | Multi-camera sync (up to 10), scripting, QR/barcode | Multi-camera setups, scripted workflows |
| Tether Studio | One-time | $99 (Mac only) | 2,900+ claimed (vendor claim) | AI Smart Cull, art director markup | Mac shooters wanting a Capture One alternative |
| digiCamControl | Community / free | Free (Windows) | Canon, Nikon, Sony primarily | Open-source, scripting, multi-camera | Windows studios on a strict budget |
Vendor-claimed camera counts noted where relevant. Prices as of publication - verify with each vendor for current pricing.
Start with why you need it, not with what you already own. If you're photographing thousands of products, the software is what makes or breaks the operation - not the camera body, not the workstation. Both of those you can swap out next year without touching your workflow. The software is what your whole team builds their process around, and re-platforming it later is expensive. So work through this in order: purpose first, hardware second.
A studio shooting a few dozen frames a day is well served by a free OEM tool plus a general editor. That's it - don't overbuy. A studio shooting hundreds of SKUs across multiple angles needs something else entirely: multi-camera sync, barcode-based metadata, template-driven setup, scriptable batch processing. Get honest about which studio you actually are before you compare a single feature list. This decision shapes everything below it.
Check the software's supported camera list, and check it against the specific features you need: wired vs wireless, video capture, focus control, live view. Wireless support varies by camera body more than most buyers expect - Capture One's 2nd-Gen wireless, for example, works with the Canon EOS R5 Mark II and EOS R1 only.
Windows-only options (digiCamControl), Mac-only options (Tether Studio), or Linux tools (gPhoto2) narrow the field before feature comparison even starts.
If retouching runs on Capture One sessions, Lightroom catalogs, or a DAM with specific ingest rules, the tethering tool needs to feed that pipeline without a manual export step in between.
Every paid option offers a free trial. Download it and run an actual production shoot - not a connection test. Test it under real conditions: your cables, your network, your camera's firmware version.
For studios producing 100+ SKUs a day, this checklist may only get you partway there. Tethering is one part of the workflow. The bigger question is whether every stage after capture is actually talking to every stage before it.
Explore the possibilities of AI-driven workflow
For a team still growing into high-volume production, picking tethering software is the whole conversation. For a team already there, it's just one problem solved - a few more still need fixing.
Signs your studio has outgrown tether-only workflows:
At that point, the useful question isn't "which tethering software" or "what else to bolt on" - it's "which platform handles the whole loop."
Purpose-built product photography automation software like Orbitvu Station treats tethered capture as one input into an end-to-end workflow that also covers turntable and lighting control, AI Masking, retouching, and publication. The tethering itself is table stakes. The value shows up in everything that happens between the shutter and the product page.
Tethered shooting is the practice of connecting a camera to a computer, tablet, or phone during a shoot. Tethering software is the tool that makes it work. Any platform in this guide lets a photographer shoot tethered.
For runs under 3 meters, a standard USB-C or USB 3.0 data cable is fine. Beyond 3 to 4.5 meters, use an active or repeater cable rated specifically for data transfer. Cheap or overly long passive cables are one of the most common causes of a dropped tethered connection.
Yes, on cameras that support Wi-Fi or IP-based tethering. Wireless used to lag noticeably behind wired. Recent protocols like Canon CCAPI have narrowed that gap to a few seconds on supported bodies.
No. An automation platform like Orbitvu Station includes tethered capture as part of a larger workflow that also handles turntable and lighting control, AI Masking, retouching, and publication. You generally don't need a separate tethering tool on top of it.
This article was written with the assistance of AI technology.
3 November 2020
A complete guide to 360 degree product photography. Get info and tips on 360 spin product photography, 360 product photography equipment, and software.
4 September 2026
Since August 2, 2026, the EU AI Act requires a disclosure label on AI-generated and AI-changed images that could pass as real. Here is what counts, what is exempt, and what a product photography team should do about it.
24 April 2024
The equipment, light types, and positions behind a working product photography lighting setup - plus how to build one step by step, whether you shoot with a single lamp or automate a full e-commerce catalog.